Is It Okay To Replace Just The Outside Ac Unit In My Home?
Is It Okay To Replace Just The Outside Ac Unit In My Home?
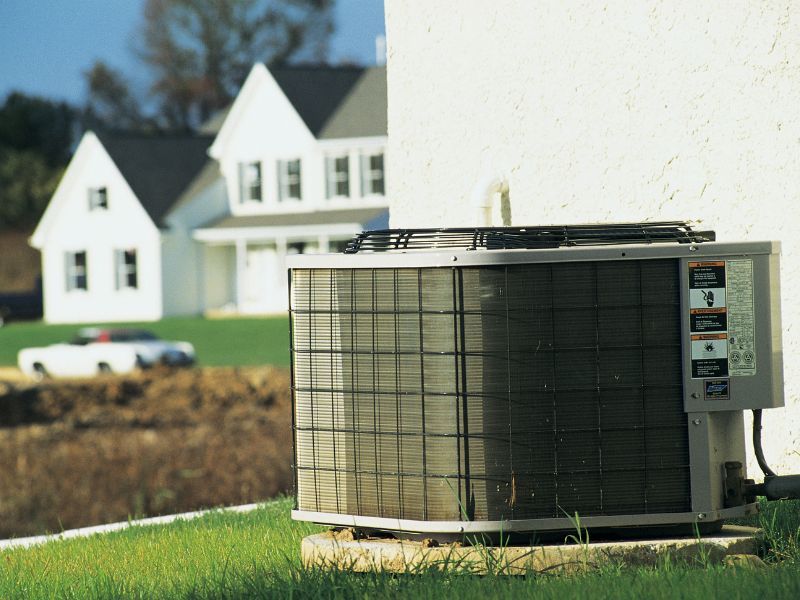
The outside AC unit of a home is like the skin of an organism – without it, our homes would be exposed to all kinds of dangers. We rely on this protective layer to keep us safe and comfortable. As time wears on though, these units can become old and inefficient, leaving homeowners with a difficult decision: replace just the outside AC unit or completely overhaul their entire ac system? It’s a question that plagues homeowners everywhere, but there’s no one-size-fits-all answer.
Homeowners often find themselves in uncharted territory when trying to decide what to do about their aging AC unit. To help make sense of the situation, we’ll explore the different options available for replacing only the outside AC unit in your home. From considering energy efficiency standards to understanding how much you’re willing to invest upfront into new equipment, we’ll cover every aspect of making this important decision.
Finally, at the end of our journey together, you’ll have all the knowledge necessary to confidently determine if it really is okay for you to replace just your outside AC unit instead of buying a whole new system. You’ll be able to assess each option based on your own needs and budget – giving yourself peace of mind knowing that whatever choice you make will benefit both your wallet and family alike!
Get A Fully-Installed HVAC Price Online
Can You Replace Just The Outside Air Conditioning Unit?
It’s understandable to be unsure about whether it’s okay to replace just the outside air conditioning unit in your home. After all, there are several options when it comes to updating or replacing your AC system and making sure you get a reliable system that will last for years is important!
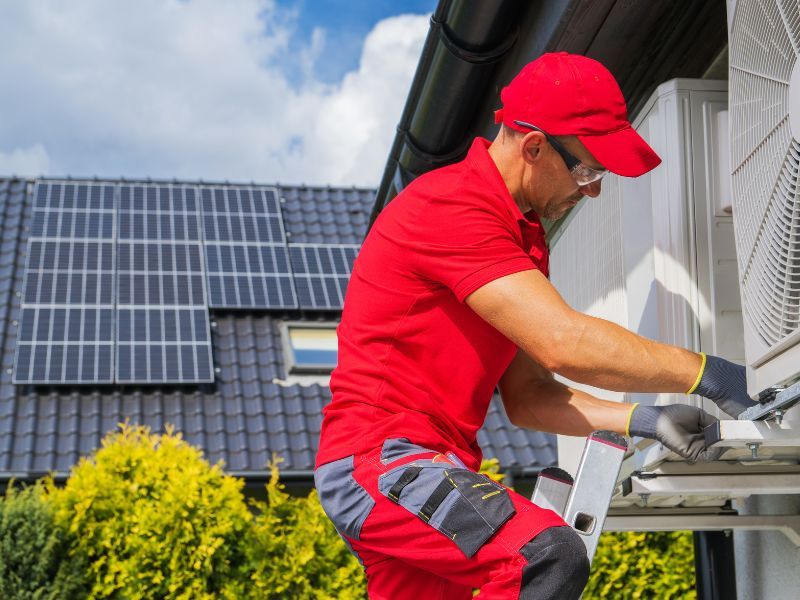
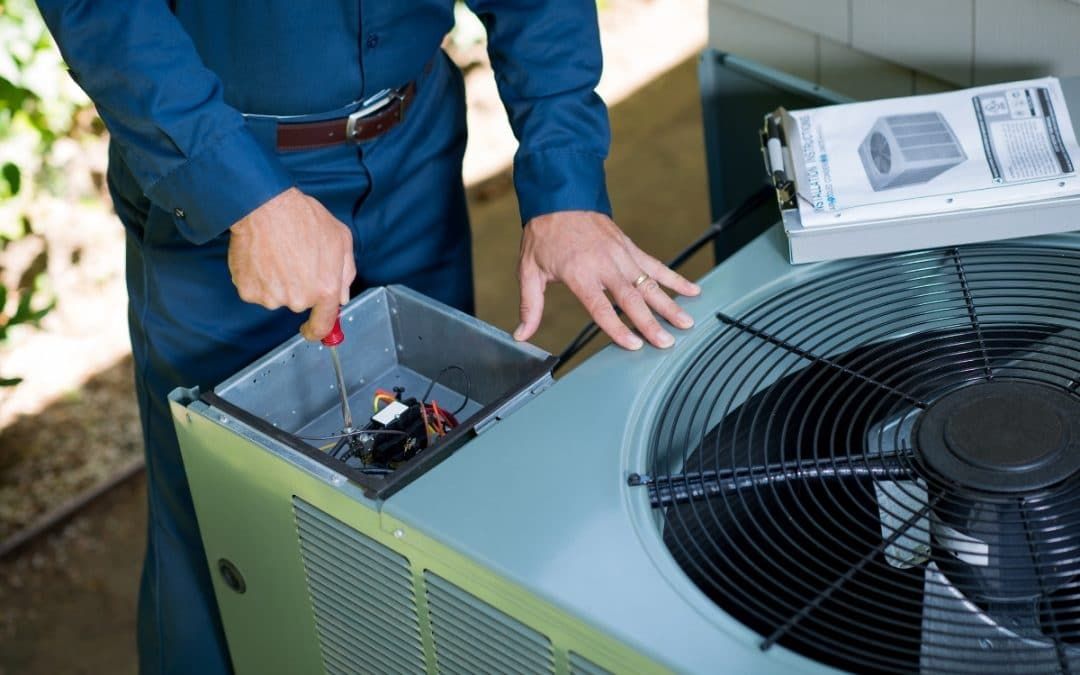
If you’re considering only replacing the outside unit, let’s take a look at what this entails. Replacing an outdoor AC unit involves removing the old one and installing a new one with all of its components such as wiring, piping, and electrical connections. This can be done by professionals who have experience in these types of projects, so you don’t have to worry about doing it yourself if you aren’t comfortable working with electricity.
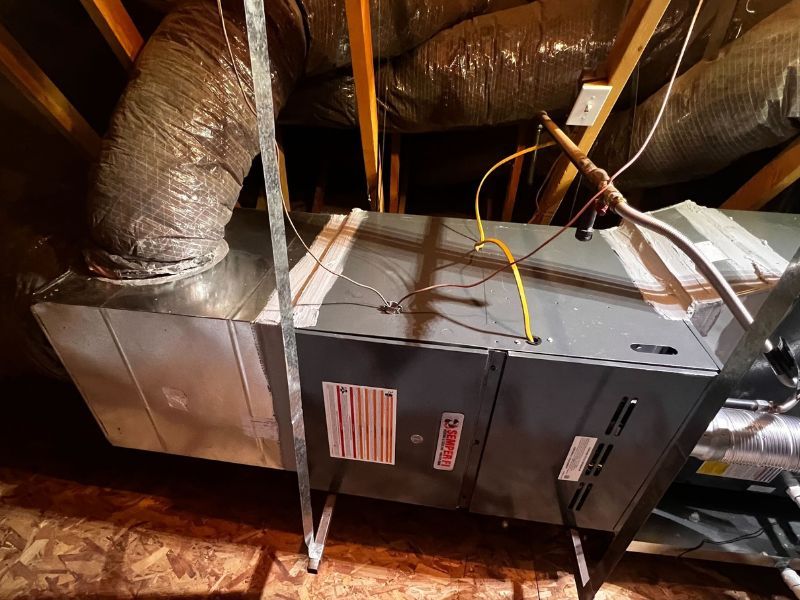
On the other hand, if you decide to go ahead with replacing both the inside and outside units together then there are some benefits. Firstly, having both units replaced ensures that they work optimally together since they were designed as part of a single system. The two-unit configuration also reduces energy consumption because each component has been configured specifically for optimal performance. Plus, any warranties offered on either unit may cover parts from both systems if something goes wrong down the line – giving you peace of mind knowing your investment is protected against breakdowns or repairs needed due to faulty installation or manufacturer defects.
So while deciding whether or not to replace just the outside air conditioner unit is possible, choosing to update both sides of your cooling system could provide additional advantages – providing cost savings over time along with greater reliability throughout usage life cycles. So before committing to one option over another, consider researching into what updating both interior and exterior components would entail versus merely changing out just one side…
What Are The Benefits Of Replacing Both Inside And Outside Ac Units?
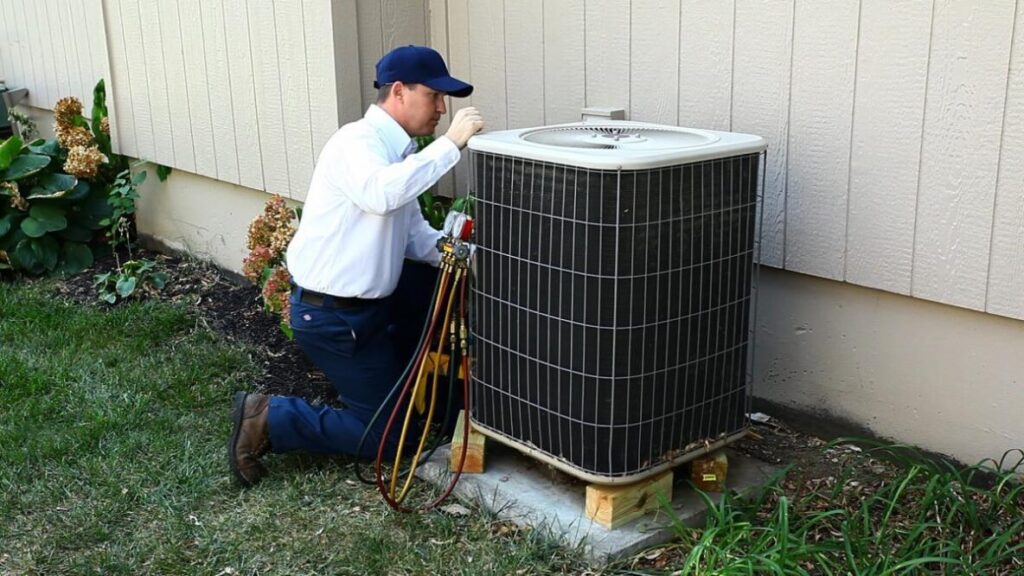
It might seem like a good idea to replace only the outside air conditioning unit in your home. After all, it’s cheaper and less of an inconvenience than replacing both units at once. But there are some big benefits that come from replacing both the indoor and outdoor AC components.
First off, modern air conditioners run much more efficiently when they’re both working together as one complete system. The two parts work together to maximize energy efficiency, allowing you to save money on cooling costs each month while also helping reduce environmental impact.
In addition, having new components for both the inside and outside can make sure that your AC is running safely and effectively. Older systems may have certain issues or problems that could cause them to break down unexpectedly or even be dangerous if left unattended. By replacing both sections of your system, you’ll enjoy peace of mind knowing you won’t have any unexpected surprises in the future due to an aging part.
Finally, by getting a brand-new set of indoor and outdoor components, you will likely see improved performance from your air conditioner compared to what it was with just one old piece swapped out for a new one. This means not only better comfort levels but potentially fewer repair needs going forward – saving you time and money in the long run!
Replacing either the indoor or outdoor portion of your AC system does come with its own advantages too; however, investing in an entirely new set up for both pieces gives you greater assurance of efficient operation today—and well into tomorrow.
When Is Replacing One Part Of The System A Good Idea?
It’s like a puzzle – when to replace one part of an AC system instead of the whole thing. While it might seem counterintuitive, there are times when replacing just a single unit can be beneficial. Let’s dive into when this is the case and what effects mismatched systems may have.
Replacing only one half of an air conditioning system can be a tricky situation to navigate. On one hand, if you’re looking at cost savings, then replacing only the outside unit could make sense; however, on the other hand, if you want optimal performance from your system, then it may be better to replace both inside and outside units for maximum efficiency. Here are four things to consider before making that decision:
- The age of your current system – older models tend not to work as well with newer parts or vice versa
- Cost-efficiency – getting the most bang for your buck
- Energy consumption – how much power will each part use?
- Compatibility between components – do they mesh together properly?
Making sure that all elements in your existing HVAC setup are compatible is critical in ensuring its overall effectiveness. If pieces don’t match up properly due to being too old or new compared to others in the same system, then you could end up paying more money in repairs down the line than if you had replaced everything initially. Additionally, mismatched units could lead to greater energy usage which would result in higher utility bills every month.
Ultimately, deciding whether or not to go ahead and replace a single portion of an AC system should come down to weighing practicality against efficiency. Sure, opting for individual replacements over buying entirely new sets may save some money upfront but won’t necessarily guarantee peak performance throughout its lifespan since compatibility between pieces needs to be taken into account first and foremost. Moving forward without having this information can cause major issues later on so always consult with someone who has experience dealing with these kinds of situations before going through with any changes whatsoever!
The Effects Of A Mismatched System
When replacing one part of your home’s air conditioning system, it is important to consider the effects that a mismatched system can have. Take for example Bob and his family in Philadelphia who replaced their outside AC unit without considering compatibility with their existing system. As soon as they turned on their newly installed unit, they noticed:
- A decrease in cooling power;
- An increase in monthly energy bills;
- Uncomfortable temperature fluctuations throughout the house.
This mix-and-match approach had an immediate effect upon not only Bob’s comfort level but also his wallet! The different components of the new and old systems were unable to function together properly which caused greater stress on each individual component and ultimately led to decreased efficiency across the board. In addition, there was no guarantee that this type of installation would be approved by local authorities or covered by manufacturers warranties – leaving Bob with a large repair bill if something went wrong further down the line.
The moral of the story? If you want maximum performance from your air conditioner, make sure all parts are compatible with each other so they can work cohesively as one system. Doing so will ensure optimal temperature control while avoiding costly repairs due to mismatching components. Plus, having everything connected correctly means you won’t need to worry about premature cooling failures or any other unexpected problems that could arise from mixing incompatible parts. Now let’s take a look at what causes those premature cooling failures…
Premature Cooling Failures
Have you ever considered the consequences of replacing only one part of your home’s AC system? If so, then it is important to understand that premature cooling failures can result from a mismatched system. Here are three possible outcomes if replacement parts are not correctly chosen:
- A reduced efficiency in operation which leads to higher energy bills;
- The possibility of an irreparable breakdown due to incompatible components;
- Uncomfortable indoor temperatures caused by poor air circulation.
These issues demonstrate why it is essential to choose compatible parts when replacing any component of your home’s HVAC system. Mismatched systems can lead to costly repairs and cause more harm than good in the long run. Therefore, homeowners should be sure they have expert advice before making decisions about their air conditioning units.
At the same time, it’s necessary for old refrigerants like R22 Freon to be replaced with newer ones such as Puron 410A. This is because outdated refrigerants can damage both the environment and people’s health over time if their use continues unchecked. Homeowners must take care that all new parts installed comply with local regulations regarding environmental protection.
To ensure everyone stays safe and comfortable all year round, it is vital that each element of the AC system works together without interruption. Out with the old (refrigerant), in with the new – this simple step will help prevent potential problems arising from mismatched AC parts down the road.
Out With The Old (Refrigerant), In With The New
Replacing an outside AC unit can be a daunting task. But don’t worry, because with the right knowledge and guidance you’ll be able to do it in no time! So let’s dive into swapping out your old refrigerant for new one.
First off, make sure that all safety measures are taken while doing this job. This means making sure that both the electrical power and gas lines are properly disconnected before beginning any work on the system. Afterward, you’ll need to remove the existing refrigerant from the outdoor condenser using special equipment designed specifically for this purpose.
Once done, it’s time to install the new refrigerant. Make sure that you wear protective gear like gloves and goggles when handling the refrigerant as it is highly flammable and dangerous if not handled correctly. Additionally, ensure that all connections are secure so there aren’t any leaks or issues once everything has been installed. Finally, test run your newly installed air conditioner by turning it on and monitoring its performance over a period of several hours to make sure everything is working properly.
Having a functioning AC unit will bring back comfort and convenience to your home – something we could all use more of these days! With just a few steps outlined above, you’ve successfully replaced your outside AC unit without breaking a sweat – now go ahead and enjoy cool breezes throughout your house again!
Get A Fully-Installed HVAC Price Online
Frequently Asked Questions
How Much Does It Cost To Replace Just The Outside Ac Unit?
Replacing just the outside AC unit in your home can be a smart move. Depending on how old and inefficient the current unit is, you might save money in energy costs in the long run. But before making this decision, it’s important to know how much replacing just the outside AC unit will cost.
When it comes to pricing for an AC replacement, there are several factors to consider. The size of your home, climate where you live, and type of system you’re looking for all play into what kind of price tag you’ll have at the end of the day. No two homes or systems are alike, so having a professional assess your situation first is key.
On average though, customers should expect to pay anywhere from $3,000 – $5,000 when they replace only their outside AC unit. This may sound like a lot upfront but depending on your energy savings over time, this could easily pay off in no time! Additionally, many manufacturers offer warranties as well that could help protect against any future issues with your new outdoor AC unit.
Making sure you’ve done your research beforehand and consulting with a professional about installation can go a long way toward helping you make an informed decision on whether replacing just the outside AC unit makes sense for your circumstances. It’s up to you decide if this investment makes financial sense or not – but hopefully now you have some idea of what ballpark figure to budget for!
What Type Of Maintenance Is Required For An Outside Ac Unit?
Keeping an outside AC unit in top shape can be a tricky business. On the one hand, you don’t want to spend too much money on repair and maintenance; but, on the other hand, you also don’t want your HVAC system breaking down when you need it most! So what type of maintenance is required for an outside ac unit?
Well, irony would dictate that if something requires regular upkeep, it’s probably worth investing some time into keeping up with that maintenance. In this case, regularly cleaning or replacing air filters every few months will help keep dust and debris out of your AC system while making sure everything is running smoothly. To further ensure optimal performance, checking connections and making sure all components are secure should be done at least once per year. Additionally, having a professional inspect the entire unit annually can save headaches later down the road.
Though there might seem like quite a bit to do just to maintain an outdoor AC unit – especially if you’re not particularly “handy” – this kind of preventative care serves as insurance against any future problems that could arise from neglecting basic maintenance needs. Not only does taking responsibility for these tasks provide peace of mind now, but it also sets yourself up for comfort in years to come by ensuring your equipment remains reliable when needed most.
So whether you’ve recently purchased a new outdoor AC unit or have been using the same one for years—properly maintaining it doesn’t have to be overwhelming or difficult. With just a little bit of effort each season (and perhaps a yearly checkup), yours can stay efficient and effective long into the future!
Are There Any Additional Safety Precautions I Should Take When Replacing An Outside Ac Unit
As we all know, tackling a DIY project can be both rewarding and daunting. But when it comes to replacing an outside air conditioning unit, there’s no time for hesitation – safety should always come first! So let’s jump right into the nitty-gritty of what additional steps you need to keep in mind when taking on this job.
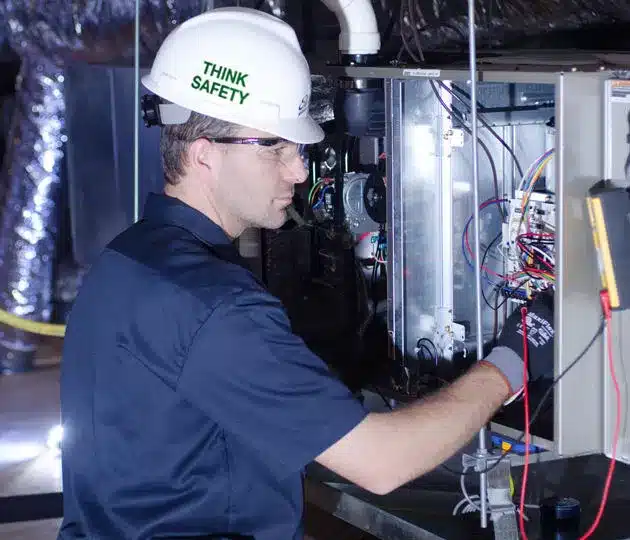
First off, remember that electricity is involved with any equipment that uses power. This means disconnecting your outside AC unit from its power source before doing anything else. It’s also important to use caution around sharp edges or hazardous liquids that may have been used during installation – safety glasses are a must! And if there’s ever any doubt about something being safe, don’t go ahead until you’ve consulted an expert.
Next up: make sure you get the correct size replacement unit for your home. The wrong size could end up costing more money in energy bills than you’d think and worst case scenario, it might not even fit in the space designated for it at all! To avoid having to start over again with a different model later down the line, double check the measurements beforehand and consult manufacturers’ guides just to be sure.
Finally, ensure everything is connected securely once the new unit has arrived and is ready to go. Depending on where exactly your outside AC unit sits in relation to other units or pipes in your home (or outside!), take extra care here as well by getting someone who knows what they’re doing to help out if needed. Doing so will save time and headaches further down the road – trust us!
How Long Does It Typically Take To Replace Just The Outside Ac Unit?
Replacing just the outside AC unit in your home can be a great way to save money, time, and energy. On average, it takes between three and eight hours for a professional HVAC technician to install an outdoor air conditioning unit. According to the U.S. Department of Energy, replacing only the outside ac units instead of the entire system can result in up to 30% savings on energy costs each year!
If you’re considering replacing just the outside AC unit in your home, here are some things to keep in mind:
- Preparation: Make sure you have all the parts necessary before beginning any installation process. This includes checking that everything is compatible with your current system and that there is enough space available for proper ventilation and airflow. You should also check local building codes or permits required before starting any project like this.
- Installation Process: It’s important to understand how long it typically takes to replace just the outside ac unit so you can plan accordingly. Generally speaking, most installations take anywhere from three to eight hours depending on complexity of work involved. If needed, you may need extra help from friends or family members during this process as well. Additionally, make sure you follow all safety protocols provided by your equipment manufacturer when working with any electrical components associated with these types of projects.
In addition to saving money on energy costs annually, when done correctly replacing only the outside AC unit will improve comfort levels inside your home while helping extend its lifespan too! From start-to-finish it’s essential that you properly prepare beforehand and seek out advice if ever unsure about anything throughout the process – after all, even small mistakes could lead expensive repairs down the road!
Get A Fully-Installed HVAC Price Online
Conclusion
Replacing just the outside AC unit in your home can be a smart choice for many homeowners. It’s often much more cost-effective than replacing an entire system, and it also takes less time. However, there are some important things to consider before making this decision. You should make sure you have the necessary safety precautions in place, and that you understand what type of maintenance is required for an outside AC unit.
When weighing up the pros and cons of replacing just the outside AC unit, don’t forget to factor in the peace of mind it will bring – like a breath of fresh air! Knowing that you’re taking proactive steps towards keeping your family cool during those hot summer months can provide immense satisfaction.
Overall, if you need to replace your outdoor AC unit then doing so has its benefits. As long as you bear all these considerations in mind when deciding whether or not to proceed with replacement, you’ll be able to make an informed decision which works best for your situation.
HVAC System Cost & HVAC Reviews
Related Pages
Categories
